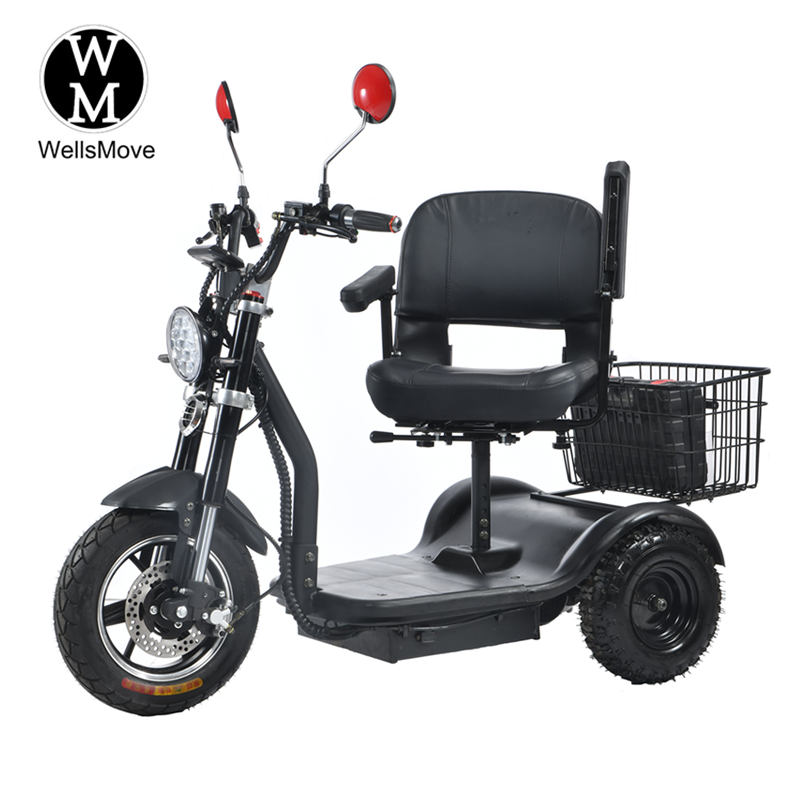
Mobility scooters have revolutionized the way people with reduced mobility can easily navigate their surroundings. These electric vehicles provide a convenient and efficient mode of transportation. However, like any other battery-operated device, over time, mobility scooter batteries eventually lose their ability to hold a charge. In this blog post, we’ll guide you through the process of replacing your mobility scooter battery, helping you ensure you can continue to enjoy your independent life without any interruptions.
Step 1: Gather the Necessary Tools
Before starting the battery replacement process, make sure you have all the necessary tools. These usually include screwdrivers, wrenches, voltmeters, new compatible batteries, and safety gloves. Making sure you have all the tools up front will save you time and frustration during the replacement process.
Step 2: Power off the scooter
Make sure your mobility scooter is turned off and the key is removed from the ignition. The power supply must be completely disconnected when replacing the battery to avoid electric shock or accidents.
Step 3: Find the Battery Case
Different scooters have different designs and battery locations. Familiarize yourself with your scooter’s owner’s manual to know where the battery compartment is located. Usually, it can be found under the seat or inside the body of the scooter.
Step 4: Remove the Old Battery
After identifying the battery compartment, carefully remove any covers or fasteners holding the battery in place. This may require the use of a screwdriver or wrench. After removing all fasteners, gently disconnect the cables from the battery terminals. Be careful not to damage any wires or connectors when disconnecting.
Step 5: Test the Old Battery
Use a voltmeter to test the voltage of the old battery. If the reading is significantly lower than the manufacturer’s recommended voltage or shows signs of deterioration, the battery needs to be replaced. However, if the battery still has enough charge, it may be worth investigating other potential failures before replacing the battery.
Step 6: Install a new battery
Insert the new battery into the battery compartment, making sure it is firmly seated. Connect the cables to the appropriate terminals, double checking for correct polarity. It is strongly recommended to wear safety gloves during this procedure to prevent accidental electric shock.
Step 7: Secure the Battery and Reassemble
Reinstall any covers or fasteners that were loosened or removed earlier to hold the battery in place. Make sure the battery is stable and cannot move within the battery compartment. This step ensures that your mobility scooter is functioning properly.
Step 8: Test the New Battery
Power on the mobility scooter and test the new battery. Take a short test ride to make sure the scooter keeps a steady charge and runs smoothly. If everything seems to be going well, then congratulations! You have successfully replaced the battery of your scooter.
Knowing how to change the battery of an electric scooter is an essential skill for any scooter owner. By following these step-by-step guides, you can easily replace the battery and ensure continued, unhindered independence. Remember, safety is always your top priority during the replacement process. If you are unsure or uncomfortable with any step, it is best to seek professional help. With a new battery in hand, you can continue exploring the world with your trusty mobility scooter.
Post time: Jul-17-2023


